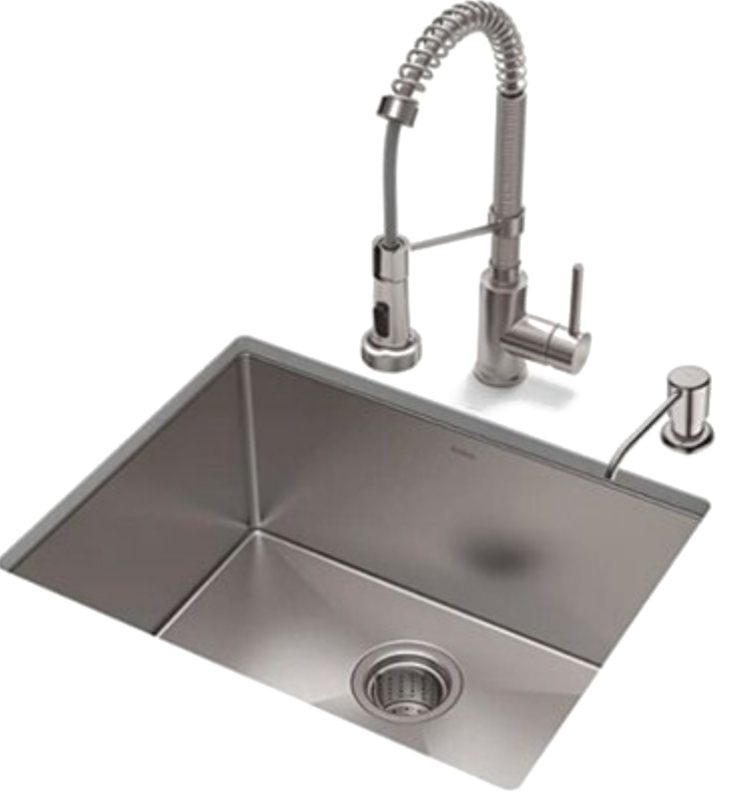
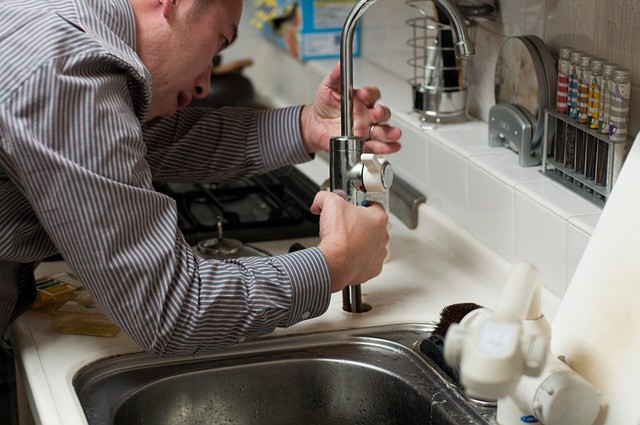
A farmhouse sink combines style and functionality, offering a deep basin for easy dishwashing and food prep. This guide provides clear, step-by-step instructions to help you install a drop-in farmhouse sink yourself, saving on installation costs and effort.
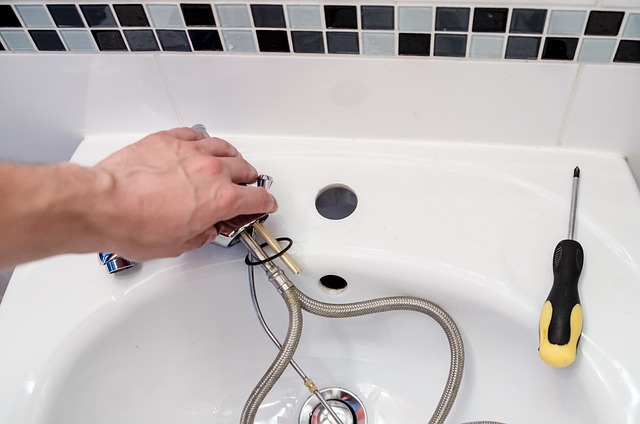
What Do You Need?
To install a drop-in farmhouse sink, you need some basic tools and materials. You’ll need a drill, level, tape measure, plumbing wrench, and caulking gun. Also, gather the sink, mounting hardware, silicone caulk, and plumbing supplies. Quality tools and materials ensure a smooth, leak-free installation.
Step-by-Step Installation Guide
Step 1: Remove the Old Sink
Begin by carefully disconnecting the plumbing and removing the existing sink from the countertop, ensuring not to damage the surrounding area during this process.
Step 2: Clean the Area
Thoroughly clean the countertop surface where the new sink will sit, removing any debris, dust, or old caulk to ensure a proper seal and fit.
Step 3: Install the New Sink
Position the drop-in farmhouse sink into the countertop opening, ensuring it is level and properly aligned with the surrounding surfaces before securing it.
Step 4: Reconnect the Plumbing
Reconnect the plumbing by attaching the water supply lines and drain pipes to the new sink, ensuring all connections are tight and secure to prevent leaks.
Step 5: Seal the Edges
Apply a bead of silicone caulk around the edges of the sink to create a watertight seal, which helps prevent water damage to the countertop.
Step 6: Test for Leaks
Once everything is connected, turn on the water supply and check for leaks around the plumbing connections and the sink edges, ensuring everything functions properly.
Final Thought
Installing a drop-in farmhouse sink can improve both the look and function of your kitchen. By following the steps and using the right tool
