Installing a garbage disposal splash guard keeps your kitchen clean by preventing food splashes and debris. This guide explains how to install one easily for smooth, efficient garbage disposal operation.
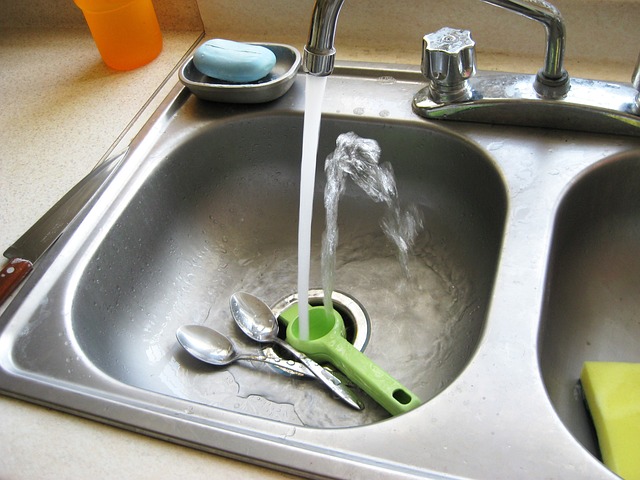
Tools and Materials Needed
To install a garbage disposal splash guard, you will need a screwdriver, adjustable wrench, towels, and a compatible replacement splash guard. Dish soap can also be helpful for cleaning.
Step-by-Step Installation Process
- Preparation: Begin by turning off the power to the garbage disposal at the circuit breaker to ensure safety during installation.
- Remove the Old Splash Guard: Carefully pull the old splash guard off the disposal unit, ensuring you detach any stuck food particles.
- Install the New Splash Guard: Align the new splash guard with the rim of the disposal, making sure it fits evenly around the edge.
- Secure It: Press the splash guard firmly into place until you hear it click, ensuring a secure attachment.
- Testing the Installation: Restore power to the garbage disposal and run cold water while turning it on to check for proper function and leaks.
Final Thought
Installing a garbage disposal splash guard enhances kitchen cleanliness and efficiency. With just a few simple steps, you can maintain a hygienic environment while enjoying the benefits of your disposal.
