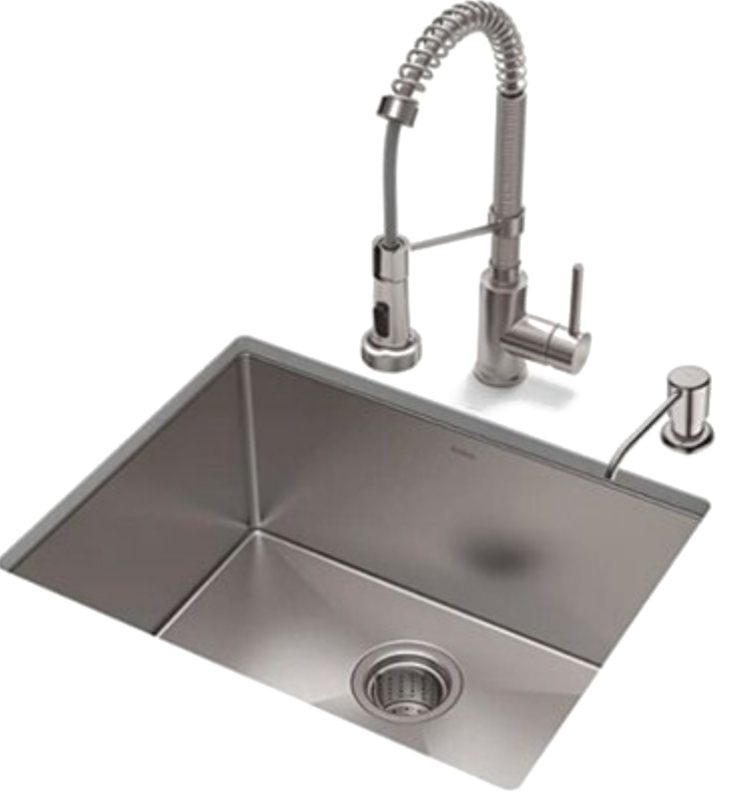
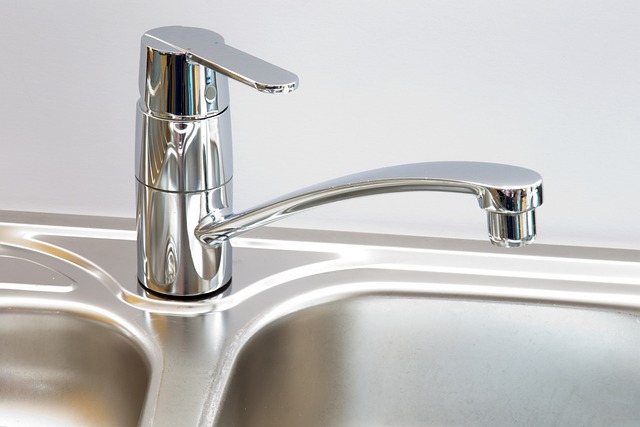
Farm sinks, also called apron-front sinks, are popular for their deep basins and stylish look. They provide plenty of space for washing, making them a great kitchen upgrade. Here’s a simple installation guide.

Preparing for Installation
Before installing a farm sink, check that your cabinet can support its size and weight by measuring its width and depth. Inspect plumbing connections for adjustments. Gather tools like a screwdriver, level, measuring tape, and jigsaw. You’ll also need mounting brackets, plumber’s putty, and caulking. Reinforce the cabinet if needed.
Step-by-Step Installation Guide
Step 1: Remove the Existing Sink
Begin by turning off the water supply to avoid leaks. Disconnect the plumbing and carefully remove the old sink, ensuring you do not damage surrounding cabinets or countertops.
Step 2: Prepare the Cabinet
Clear the cabinet space and assess if any modifications are necessary. You may need to remove cabinet doors or adjust shelves to create sufficient room for the new farm sink.
Step 3: Install the Farm Sink
Position the farm sink into the cabinet, ensuring it is centred and level. Secure the sink using the provided mounting brackets and make sure it is firmly anchored.
Step 4: Reconnect Plumbing
Reconnect the water supply lines and drainage pipes carefully. Check that all connections are tight to prevent leaks, and ensure proper alignment with the new sink setup.
Step 5: Finishing Touches
Apply caulk around the edges of the sink to create a watertight seal. Finally, consider installing new faucets or fixtures that match your farm sink’s style for a cohesive look.
Final Thought
Installing a farm sink enhances your kitchen’s look and functionality. With proper preparation and attention to detail, you can easily complete this project and enjoy a more practical, stylish cooking space in your home.


