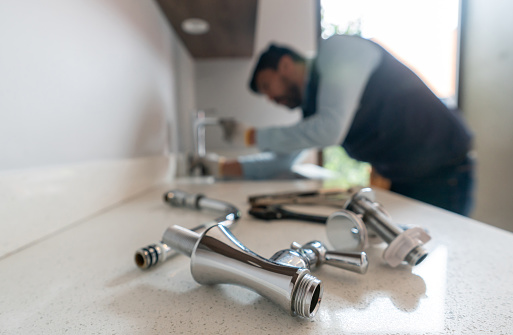
Removing a Delta kitchen faucet might seem like a complicated task, but with the right tools and steps, it can be a simple DIY project. Whether you’re replacing an old faucet or upgrading your kitchen, this guide will walk you through the process. In just a few steps, you’ll learn how to safely disconnect and remove your Delta kitchen faucet, making way for a new installation. By following this guide, you will avoid common pitfalls and unnecessary damage to your plumbing.
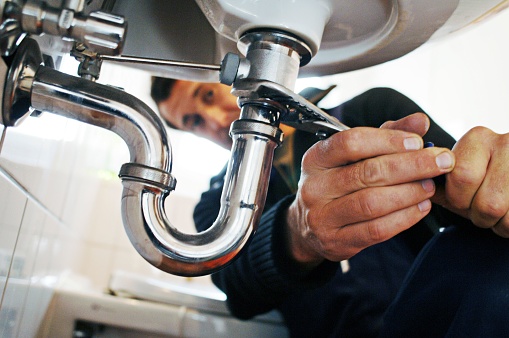
Tools You’ll Need
To remove a Delta kitchen faucet, you’ll need specific tools to ensure the process goes smoothly. Based on my analysis of relevant content and articles, the primary tools required are:
- Basin wrench
- Adjustable wrench
- Screwdriver
- Allen wrench
- Plumber’s tape
- Penetrating oil
These tools are essential for removing a Delta faucet safely and efficiently, helping to avoid any unnecessary damage during the DIY project.
Step-by-Step Removal Process
To remove a Delta kitchen faucet, you’ll need to follow a series of steps that ensure you do the job properly and safely. Here’s a clear breakdown of the process:
1. Turn Off the Water Supply
The first thing to do is locate the water shut-off valves under the sink and turn them off to stop water flow to the faucet. If you can’t find these valves, shut off the main water supply to your home. Once the water is off, turn on the faucet to drain any remaining water in the lines.
2. Disconnect the Water Supply Lines
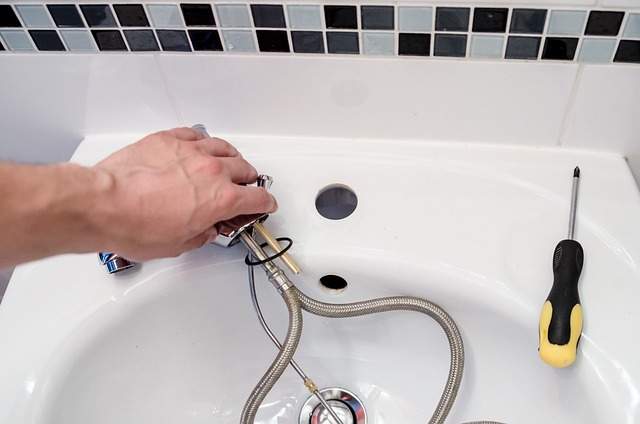
There are usually two water supply hoses (hot and cold) connected to the base of the faucet. Use an adjustable wrench to loosen and disconnect these hoses from the faucet. Make sure to have a towel or bucket ready to catch any water that may spill.
3. Remove the Mounting Nuts or Retaining Plate
Under the sink, the faucet will either be secured by a retaining plate or mounting nuts. Use a basin wrench to reach the nuts and loosen them. If the nuts are rusted or difficult to remove, applying a lubricant like WD-40 can help. For faucets with a retaining plate, a flat-head screwdriver may be required to loosen the screws.
4. Lift Out the Faucet
Once the securing nuts or plate are removed, the faucet can be lifted out from above the sink. Be cautious of sharp edges around the faucet’s base as you remove it. If the faucet is stuck, gently wiggling it or using pliers can help.
These steps provide a straightforward method for removing a Delta faucet, and the process should be manageable with the right tools. If you’re dealing with a more complex design, such as a touchless model, additional steps might be required, such as removing adhesive seals.
Uninstalling a Delta Kitchen Faucet
To uninstall a Delta kitchen faucet, first, turn off the water supply. Disconnect the water lines from the faucet using a wrench. Next, remove the faucet mounting nuts underneath the sink with a basin wrench. Detach the faucet and any sprayer hoses, then lift the faucet out from the top of the sink. Finally, scrape off any old sealant and clean the sink area before installing a new faucet.
Finishing Up and Conclusion
After successfully removing your Delta kitchen faucet, clean the sink area by scraping off old sealant and wiping it down. Inspect for any damage like cracks or corrosion. Check the water supply lines and replace if needed. Gather your new faucet and tools for installation, and review the manufacturer’s guide to familiarise yourself with the next steps. Stay tuned for our installation guide to complete your kitchen upgrade.
