How To Replace Kitchen Sink Strainer? Ever find your washbasin acting strangely? Maybe it drains slowly or smells strange. Guess what? The issue may be your kitchen sink strainer! What does this tiny object do, and why is it important? Do not worry—we’ll explain everything. This guide shows you how to replace your washbasin strainer step-by-step. We’ll make it easy for DIYers of all levels. You’ll have a working washbasin and be proud of fixing it yourself. Are you ready to begin? Jump right in.
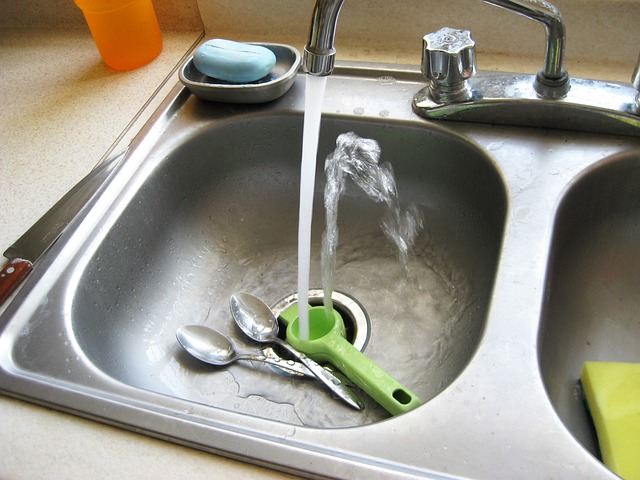
Preparing for the Replacement
Let’s get ready before you change the strainer in your kitchen sink!
1. Get your tools together:
A screwdriver, plumber’s putty or silicone glue and your new wash basin strainer kit should be in your hands. Think of these as the most important tools for your cooking.
2. Get Ready for Work:
Turn Off the Water and clean up around the sink. A clean work area, like a kitchen table that is neat, helps the job go more quickly.
3. Clean Up Around the Sink:
Remove old screws and gunk to simplify access.
Now that everything is set, it’s time to switch strainers!
Replacing the Kitchen Sink Strainer
Step 1: Remove the Old Strainer
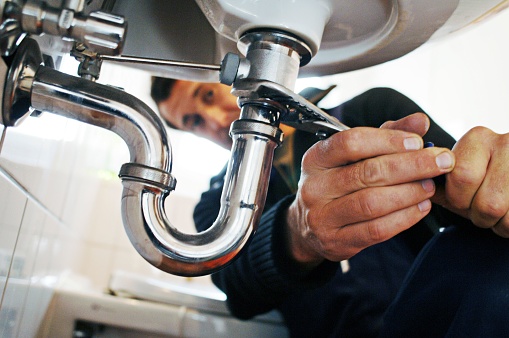
Start by loosening the locknut underneath the sink using adjustable pliers. Think of it as unscrewing a stubborn jar lid – give it a good twist until it starts to loosen up. Once it’s loose, gently disconnect the old strainer from the drainpipe. It might need a little wiggle, but don’t worry, it’ll come off.
Step 2: Install the New Strainer
Now, let’s welcome the star of the show – your brand new sink strainer! But before we pop it in, let’s add a little magic touch. Apply some plumber’s putty or silicone sealant to the underside of the new strainer. This will help create a super-strong seal and keep your sink leak-free. Once you’ve done that, carefully place the new strainer into the sink opening. Make sure it’s sitting snug and cosy.
Step 3: Secure the Locknut
With the new strainer in place, it’s time to lock it down. Head underneath the sink and use your adjustable pliers to tighten the locknut. Think of it as giving your sink a big, comforting hug – you want it to feel secure but not too tight.
Step 4: Reattach the Drainpipe
Now, let’s reconnect the drainpipe and make sure everything is snug and secure. Slide the drainpipe back onto the bottom of the sink strainer and tighten any connections if needed. Give everything a final check to make sure it’s all in place, and voila – your sink is ready to shine!
Step 5: Test and Enjoy
Turn on the water supply and check for any leaks. Admire your shiny new sink strainer and enjoy a job well done!
Conclusion:
A new strainer gives your washbasin more functioning and peace of mind that leaks are gone. This project shows that with determination and assistance, you can do any home repair. Wishing you more DIY success!.





It is very informative. I was in search to replace the kitchen sink strainer, But I did not get a great mentor and information, because of this information my problem was solved. Thank you so much.
keep it up.
Appreciated.