If you don’t fix a loose kitchen faucet, it can leak and do long-term damage. Good news: it’s easy to fix. All you have to do is tighten the tap nut under the sink. This step-by-step guide will show you how to tighten the nut and stop problems from happening again, so you don’t have to make expensive fixes or call a plumber.
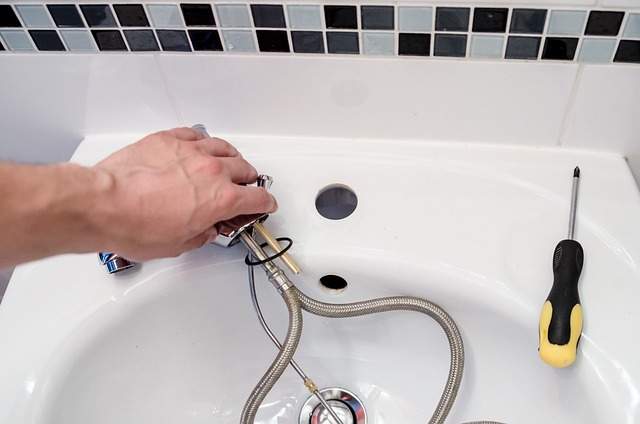
Why Is My Kitchen Faucet Loose?
A kitchen faucet can become loose over time for a number of reasons. The most common reason is normal wear and tear from daily use. The fastening nut can become loose over time from constant movement and water pressure. Another reason could be that the nut wasn’t tightened enough during the fitting process. There are times when vibrations from using the tap often are also to blame for the nut coming loose. No matter what caused the problem, fixing it right away stops leaks, water damage, and the chance that the faucet will come totally loose.
What Tools Do I Need?
Here’s a list of tools you’ll need to tighten the kitchen faucet nut:
- Adjustable wrench (or basin wrench for tight spaces)
- Flashlight or work light
- Towel or mat (for comfort)
- Bucket (to catch any water spills)
Using these tools will make the process easier and more efficient.
Clearing the Space Under the Sink
Make sure the area under the sink is clear before you start tightening the tap nut. Take out any things that are stored first to make room to work. Putting down a towel or mat can help make the area more comfy, since you’ll probably be working in a small space. A flashlight will help you see well, and a bucket close by will catch any drips that happen while you work. If you prepare properly, the job will be easier and faster, and you’ll be able to reach the faucet nut without any problems or extra trouble.
Finding the Loose Nut
Finding the loose nut that holds the tap in place is the next step. Make sure the area is clear and your tools are ready. Find the water lines under the sink and follow them up to where the faucet links to the sink. Most of the time, the loose nut is at the base of the tap and holds it to the sink or countertop. To get a good look, use a flashlight because it can be hard to see in this area. There may be more than one nut, especially if the tap has more than one place to attach it, so make sure you pick the right one. Finding the loose nut is a very important part of making the fix work.
Tightening the Nut
Once you know which nut is loose, use an adjustable or basin wrench to tighten it firmly. To tighten, put the wrench around the nut and turn it clockwise. Keep it from being too tight, as that could damage the threads or the tap itself. A basin wrench can help you reach the nut without having to strain if the room is tight. By slowly tightening the nut, you can make sure that it fits securely without putting too much pressure on the sink or tap. The tap shouldn’t move after the nut feels tight.
Checking out the faucet
It’s important to test the tap to make sure the problem is fixed after tightening the nut. Watch how stable the tap is after you turn it on. Look to see if the base is moving or shaking. The nut was tightened properly if the faucet stays steady. Run the water under the sink for a few minutes and look for any leaks, especially around the nut that was just tightened. If there are any signs of leaks, you may need to tighten the nut even more or use plumber’s tape to make the seal stronger. The last step in fixing the faucet is to make sure it is stable and doesn’t leak.
Conclusion
It’s easy to fix a loose kitchen faucet nut under the sink, which can save you a lot of money on repairs and water damage. By following the steps in this guide, you can quickly lock the faucet in place and make sure it works properly. Doing simple things like looking for leaks and loose nuts on a regular basis can help your faucet last longer and avoid problems in the future. Remember that making these small fixes yourself not only saves you money but also gives you more control over how your home is maintained.
